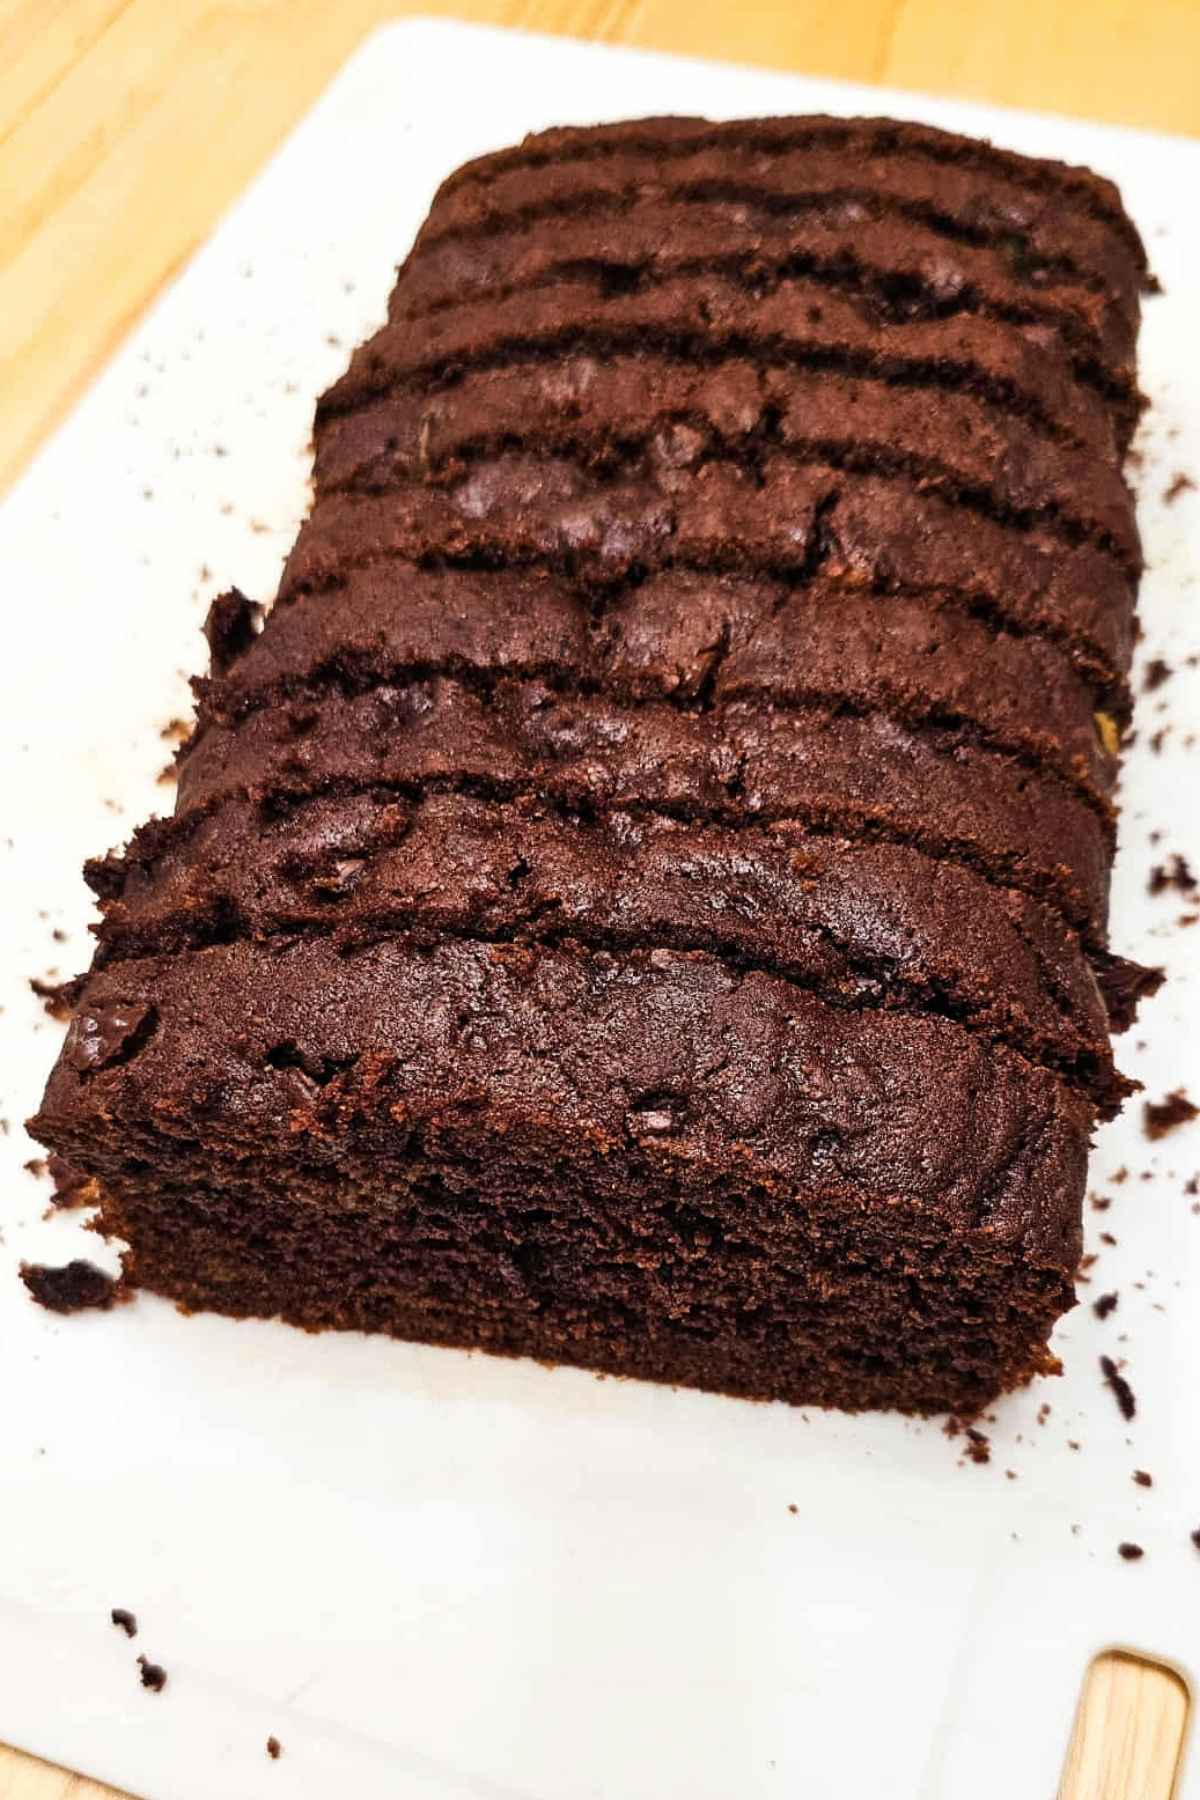
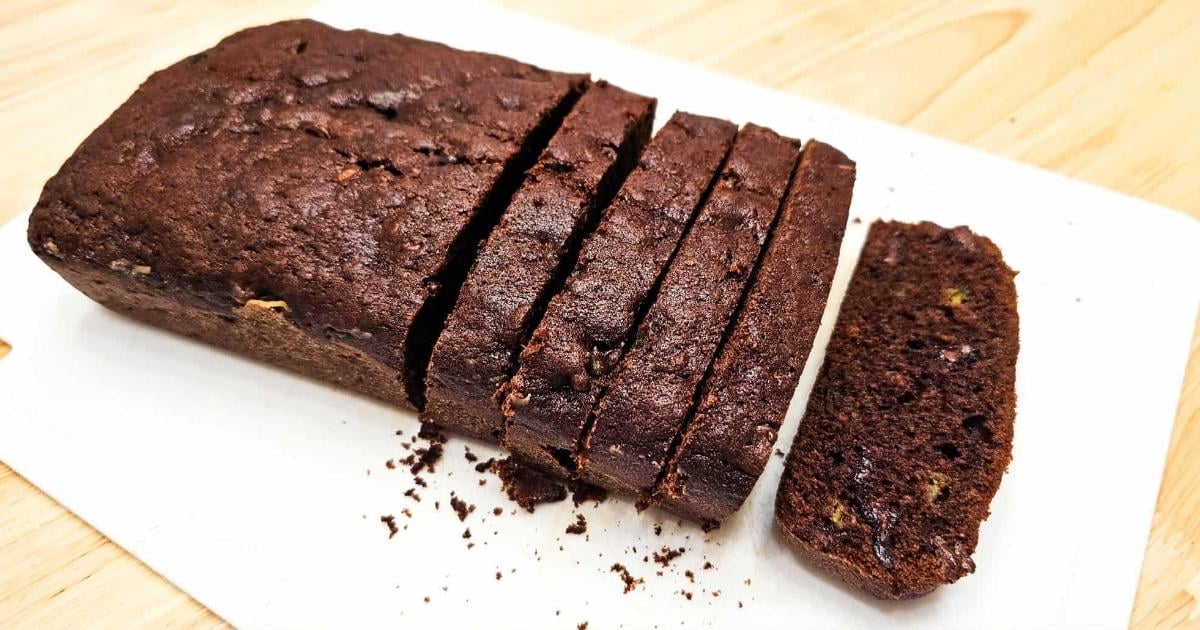
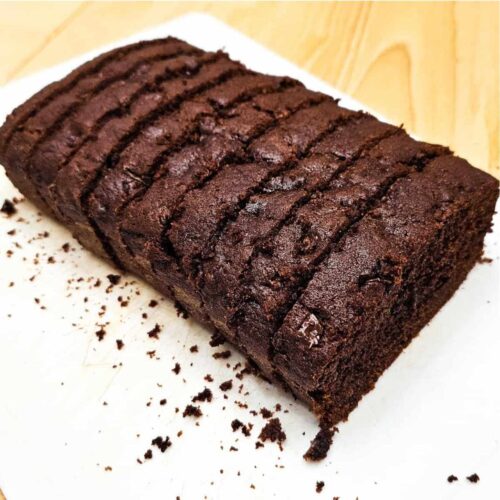
Chocolate Zucchini Bread
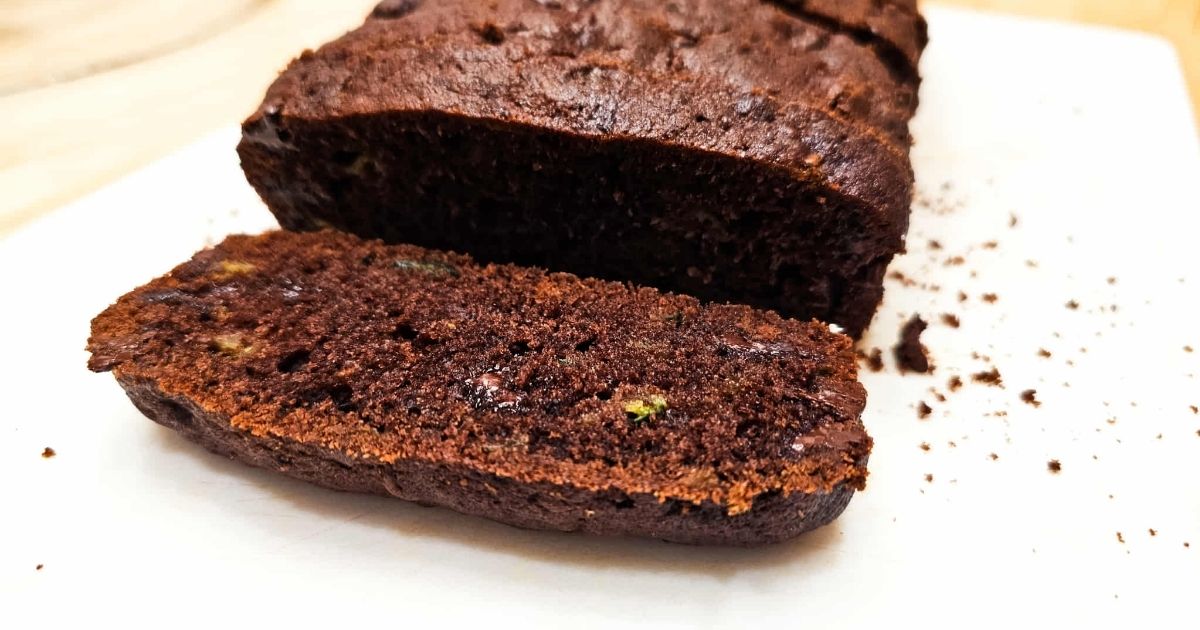
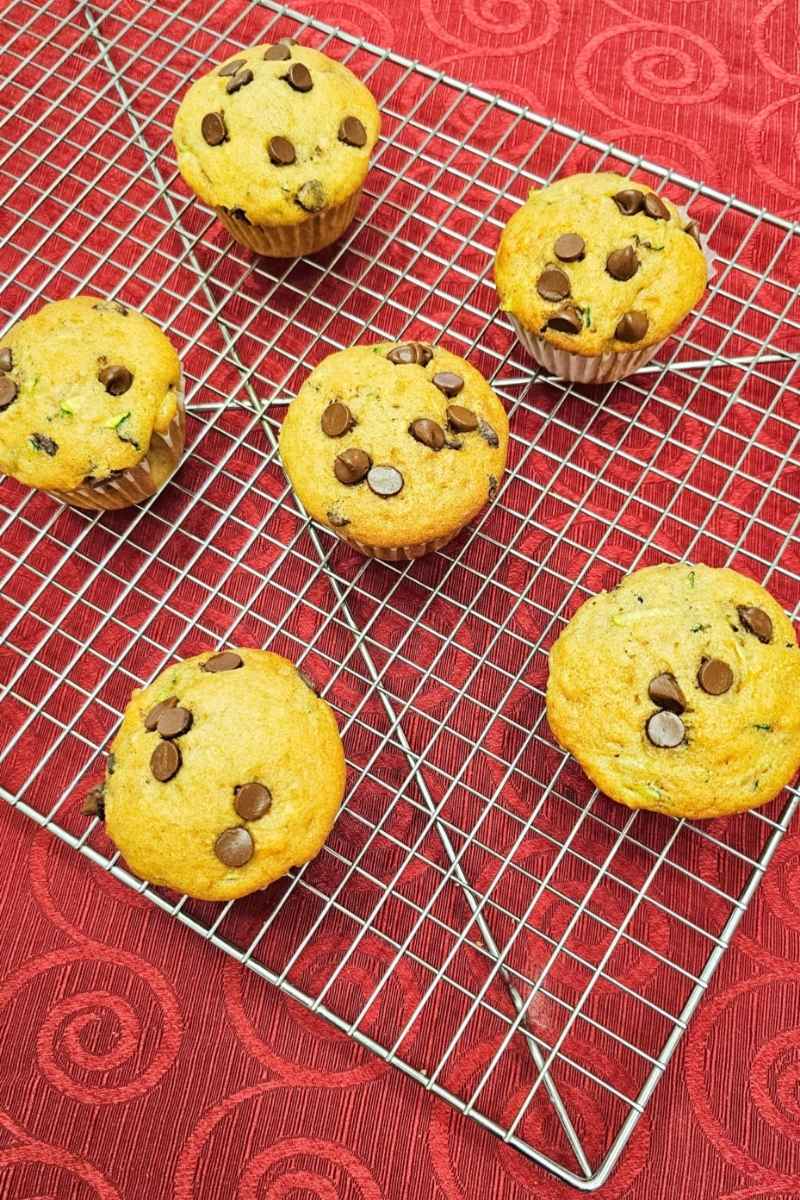
This chocolate zucchini bread is as delicious as my chocolate chip zucchini muffins recipe. It’s rich with chocolate, moist from the zucchini, and you’d never guess there’s any vegetable hidden inside!
Where did the recipe come from?
With the garden overflowing, it feels like we have a never ending supply of zucchini. That means I’m always looking for new zucchini recipes to try out because let’s be honest, no one wants to eat the same dish over and over.
When I served this chocolate zucchini bread, my kids were completely surprised. They had no idea there was zucchini hidden inside!
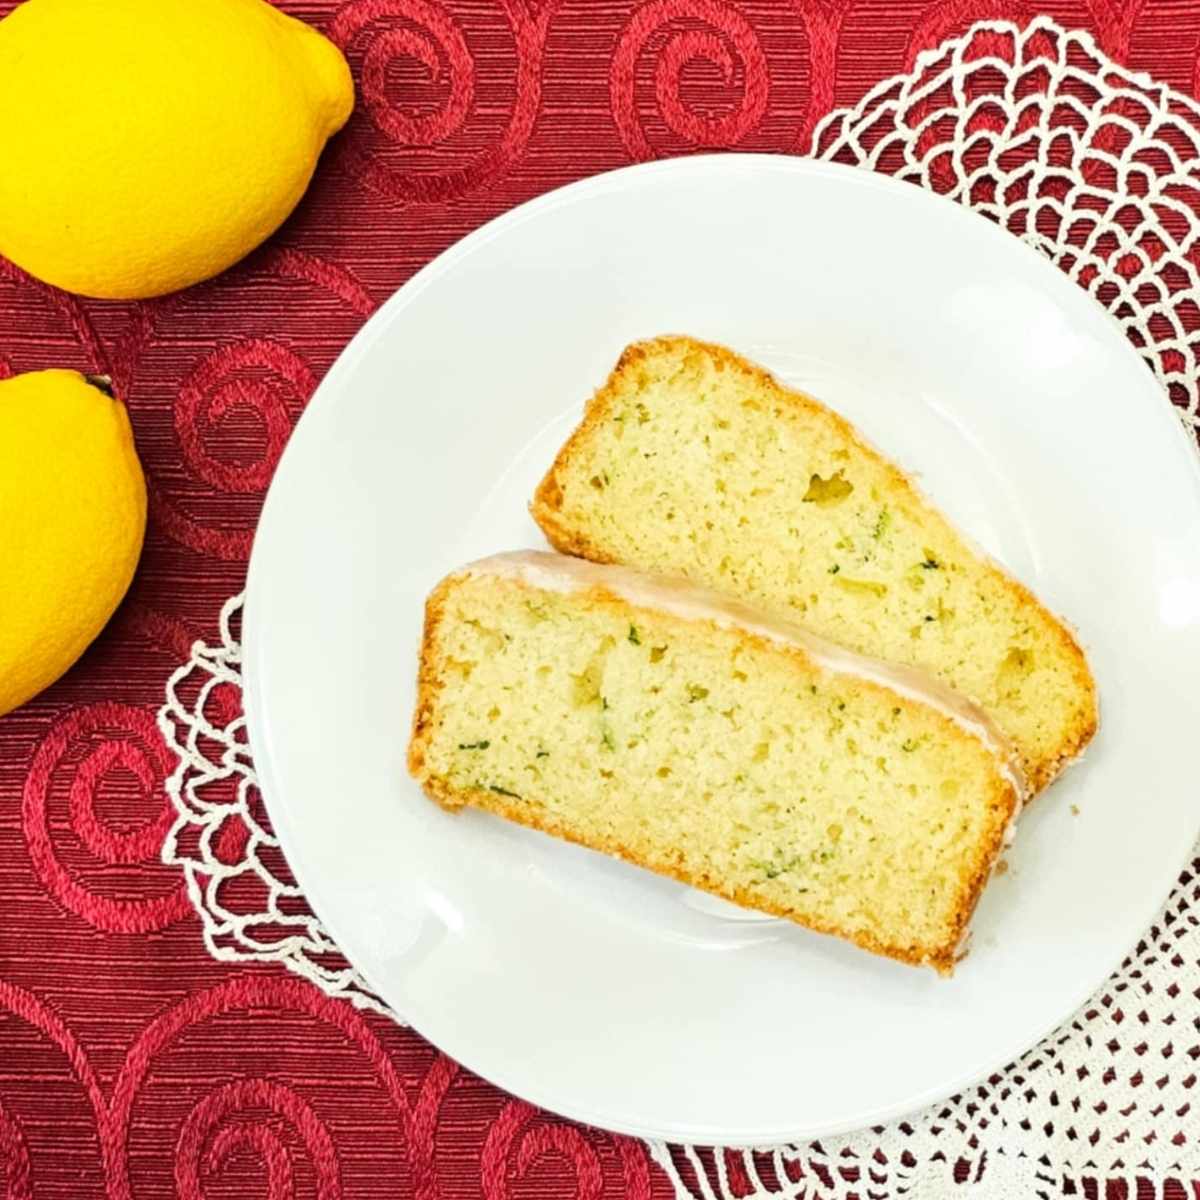
This recipe actually comes from my husband’s aunt, and it truly is the best loaf I’ve ever had. It’s right up there with one of my other favorites which is a classic lemon loaf drizzled with a sweet lemon glaze.
Why You’ll love this recipe
- Great for a quick breakfast on the go or for a back to school snack or dessert
- Its easy to make and moist
- Hidden vegetables that no one knows about
- Its a tried and loved family recipe that has been passed down
- A seasonal recipe for your zucchini harvest
- It freezes wonderfully
- Delicious paired with homemade vanilla ice cream
Recipe Ingredients
Lets talk ingredients! Here’s everything you’ll need to make this recipe.
- All purpose flour- I used un-bleached all purpose flour
- Unsweetened Cocoa Powder
- Salt
- Baking Powder
- Baking Soda
- Cinnamon
- Granulated Sugar
- Vegetable Oil
- Butter– Melted
- Eggs- Large
- Buttermilk- If you don’t have buttermilk you can use milk and vinegar instead
- Vanilla- Pure or artificial works
- Zucchini- Shredded with the skin on, not drained
- Chocolate Chips- I used semi sweet chocolate chips
See recipe card for quantities.
How to make this recipe
Use these photos as a guide as you move along each step.

- Step 1: Pre-heat the oven and grease then flour 2 9×5 loaf pans and set them aside.
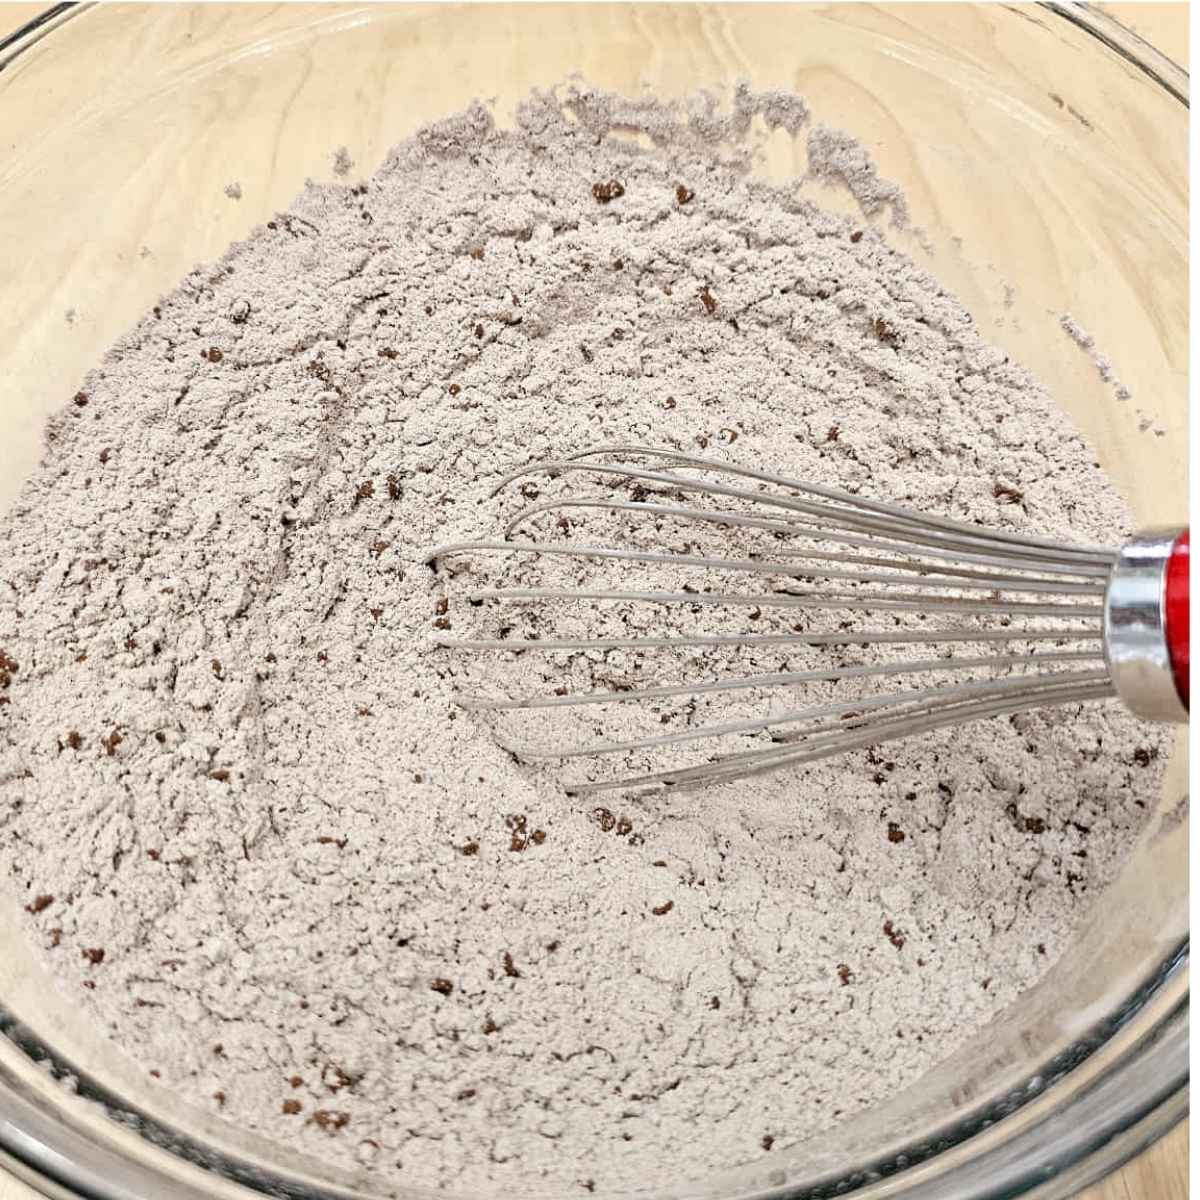
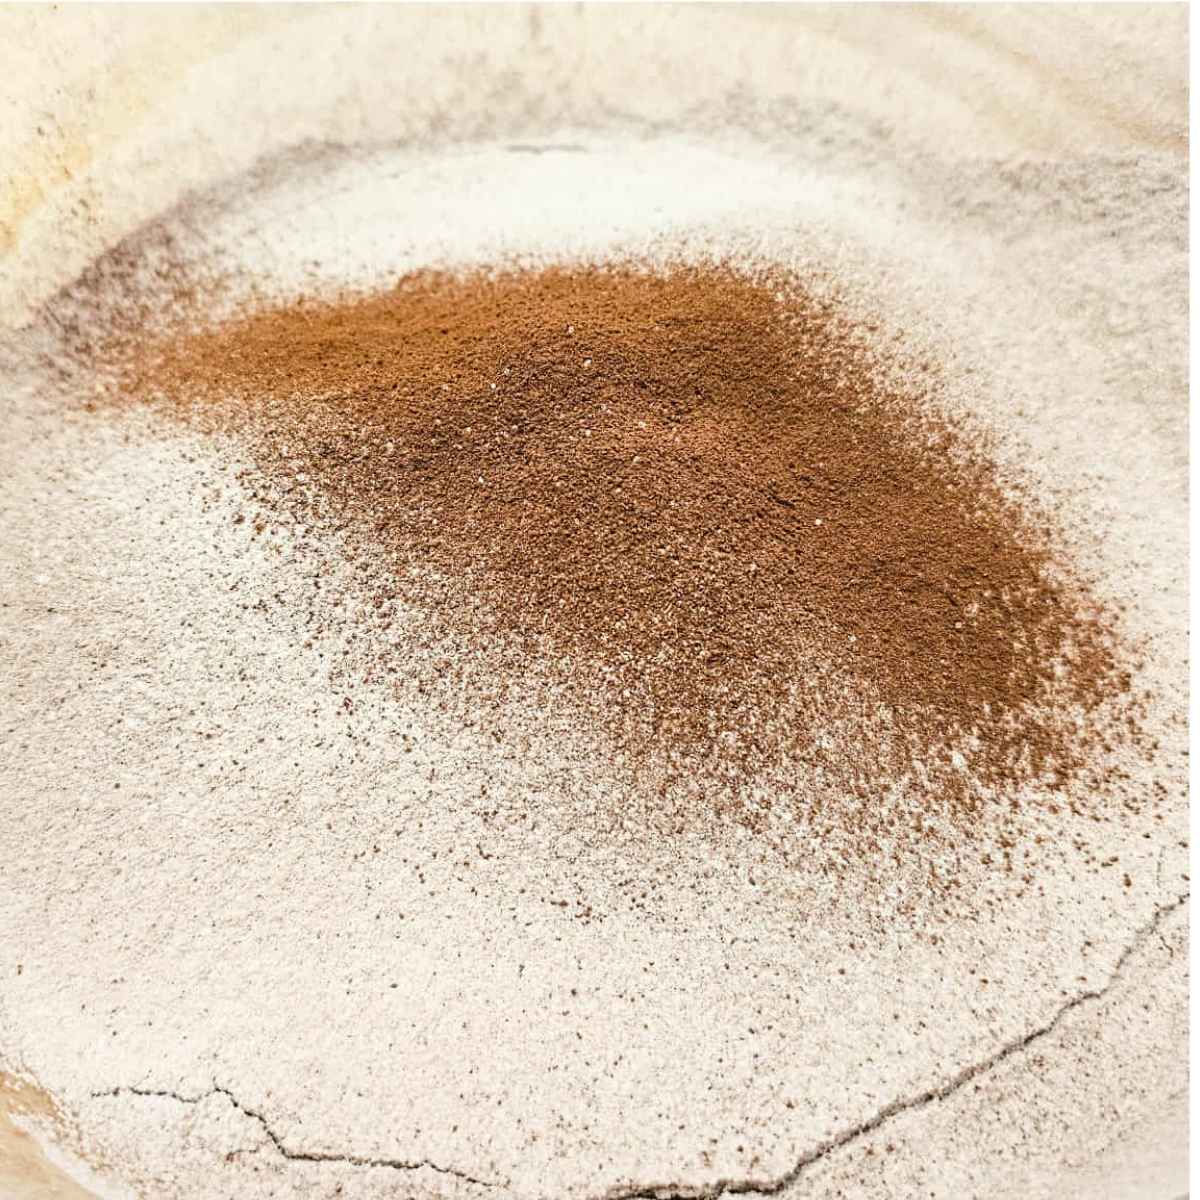
- Step 2: In a medium bowl add in the flour, cocoa, salt, baking powder, baking soda and cinnamon. Whisk and set aside.
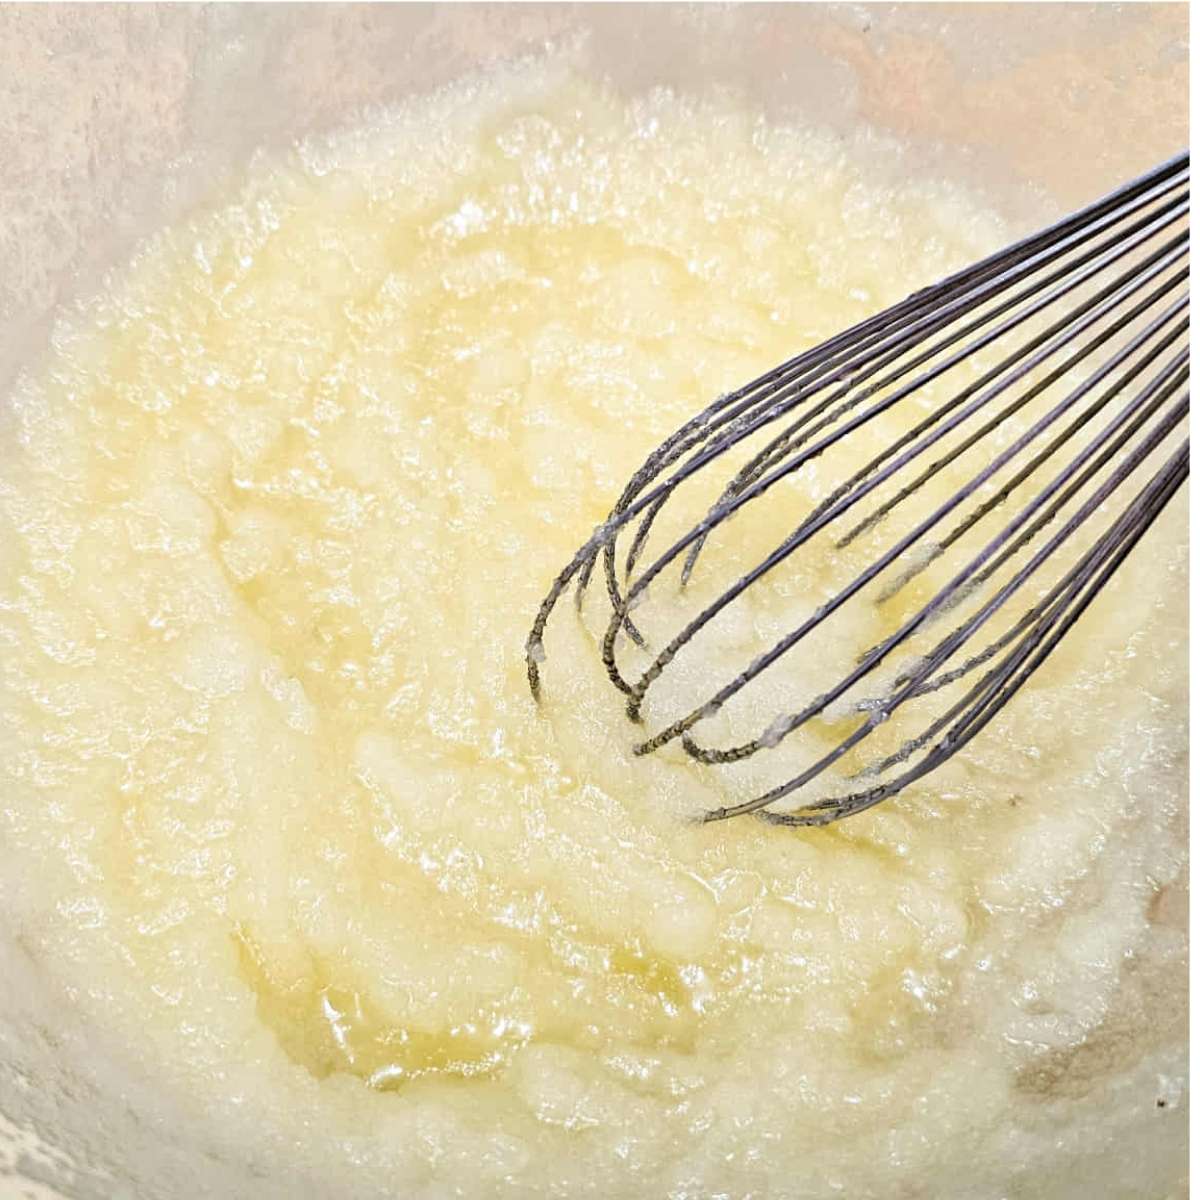
- Step 3: In a large bowl add in the sugar, oil and melted butter then mix.
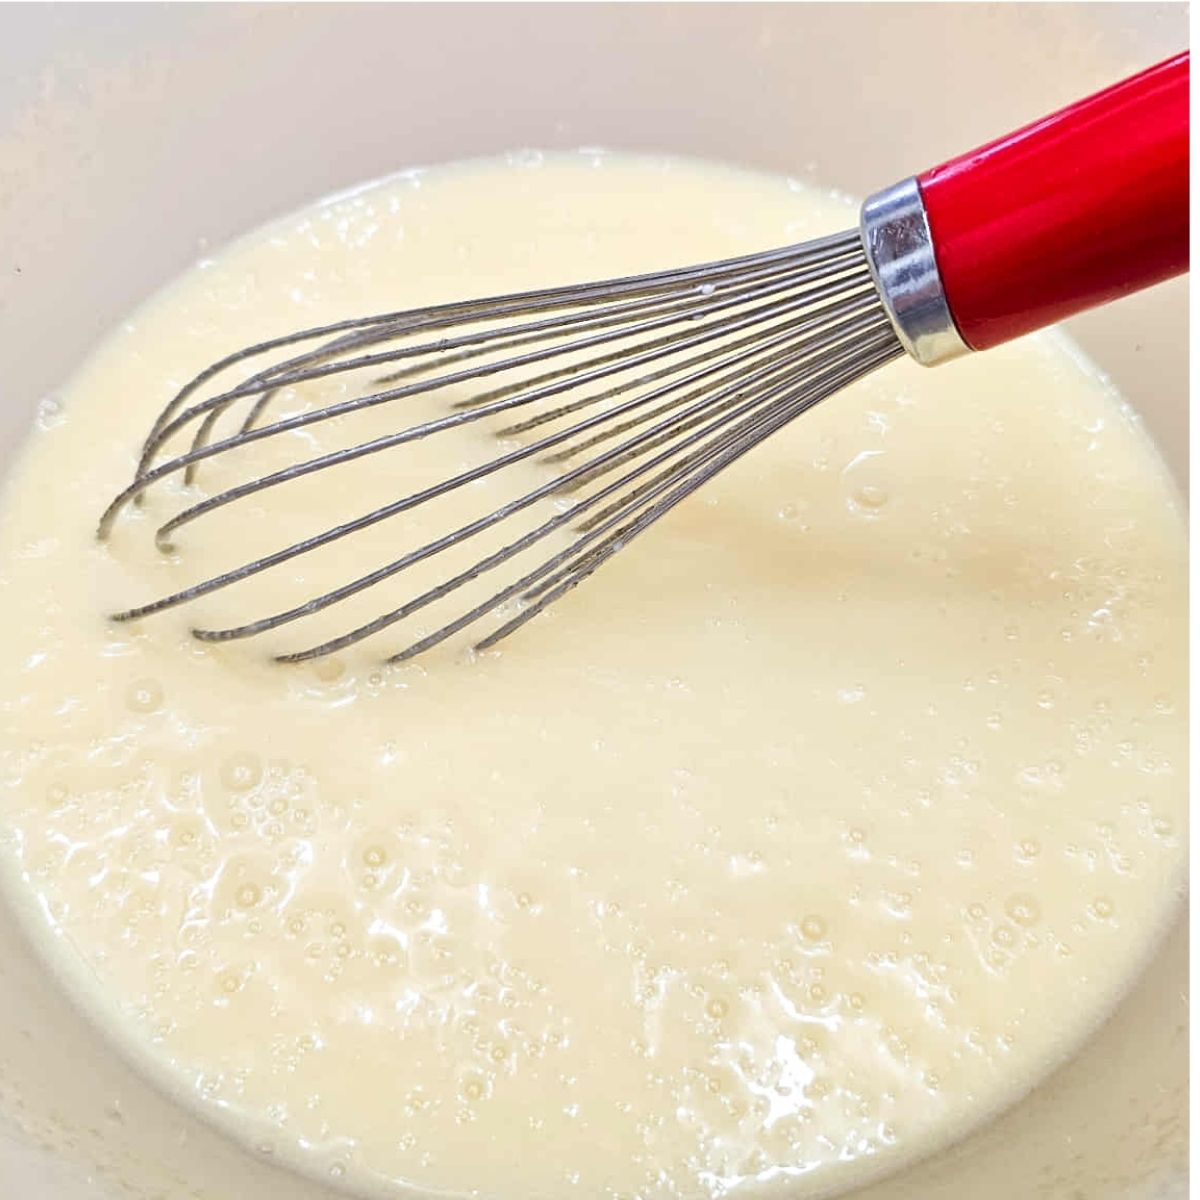
- Step 4: Add to that the eggs, buttermilk and vanilla. Mix.
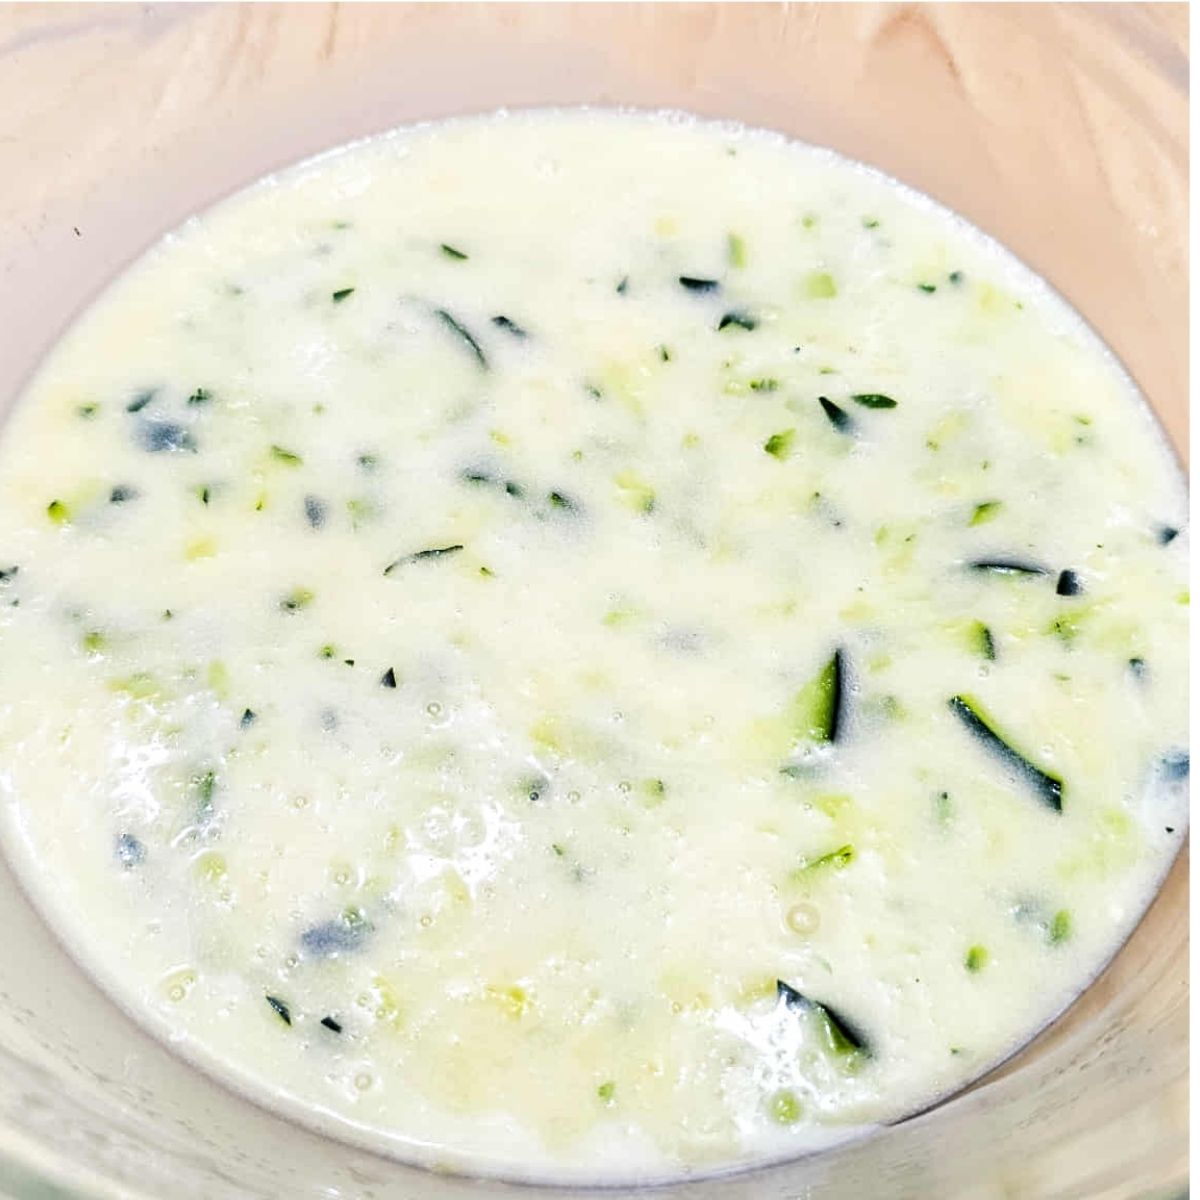
- Step 5: Mix in the zucchini.
- Step 6: Sift the dry ingredients over the wet and mix until just combined.
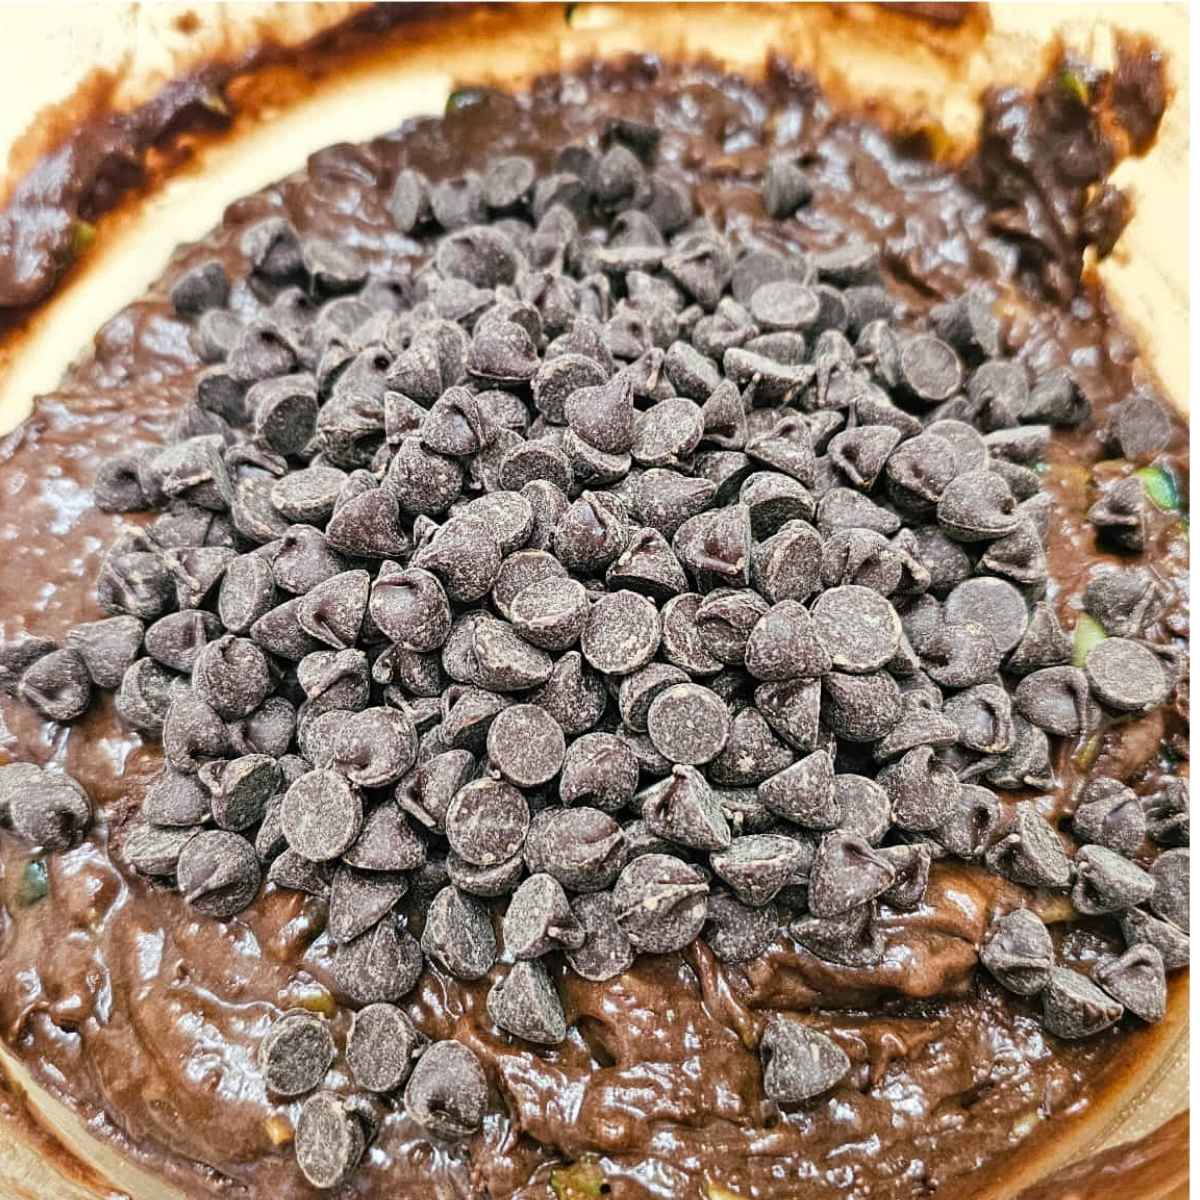
- Step 7: Fold in the chocolate chips.
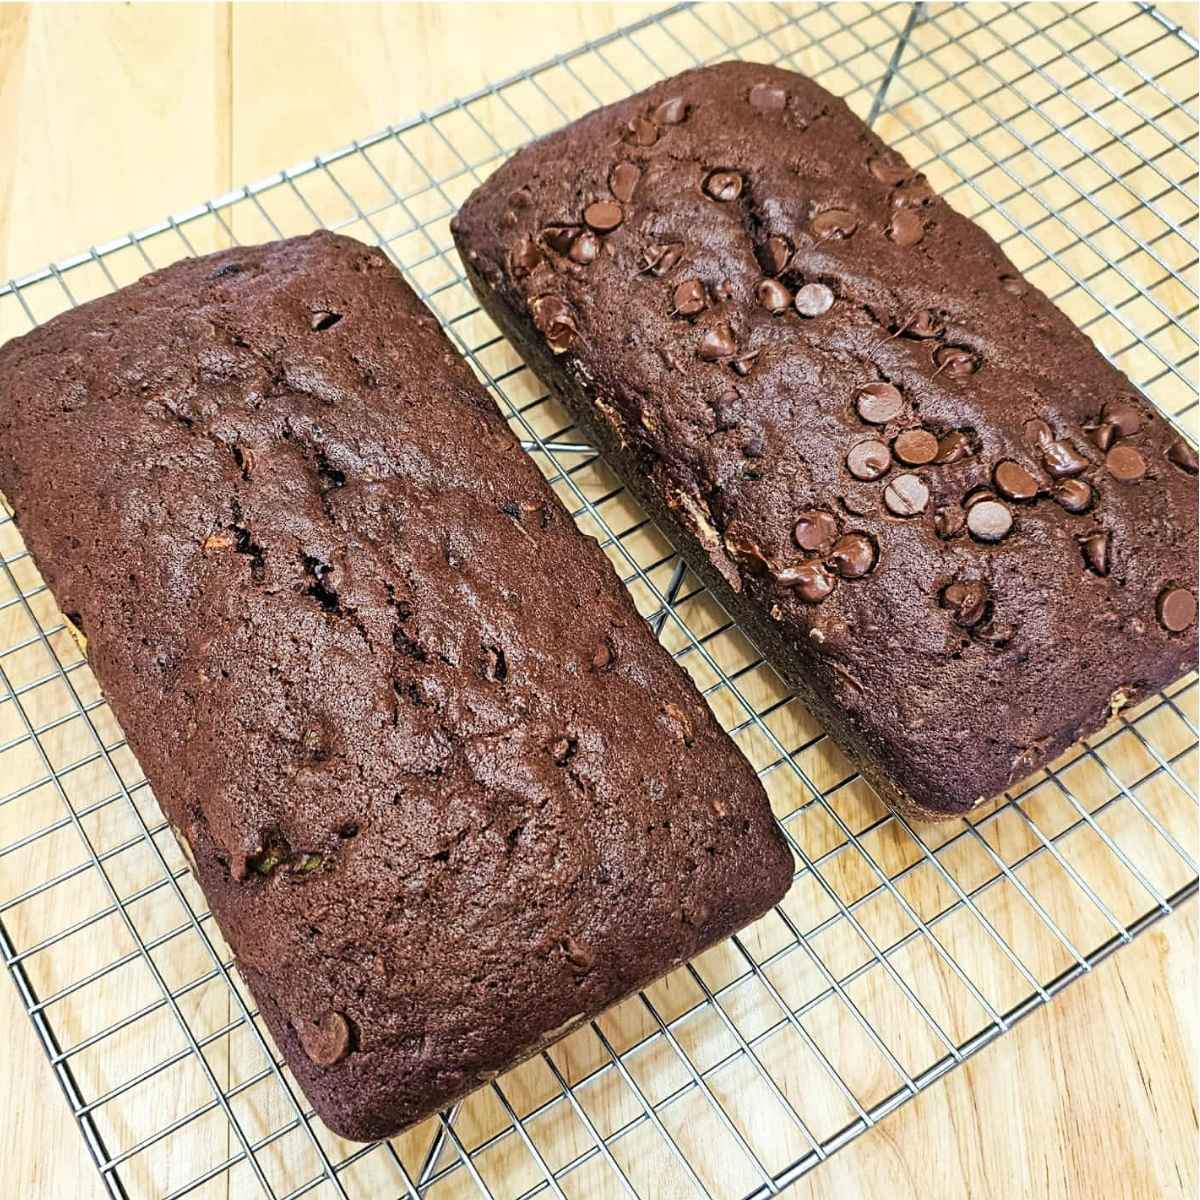
- Step 8: Place in pans and top with more chocolate chips if you’d like. Bake for 55 minutes to 1 hour, then cool in pan for 10 minutes before transferring it to a wire rack to cool.
Tip: Do not over mix the batter or it will be more dense than soft.
Storage
Room temperature: Store in an airtight container for up to 4 days at room temperature.
Fridge: It will last up to one week in the fridge but it does go drier when stored there. I personally prefer storing it at room temperature for the best texture.
Freezing: Allow loaves to cool completely before freezing. Wrap in cling wrap then tin foil and place in a labeled freezer bag. It will last for up to 3 months in the freezer.
Chocolate Zucchini Bread
Ingredients
- 2 1/2 cups all purpose flour
- 6 Tablespoons unsweetened cocoa powder
- 1/2 teaspoon salt
- 1/2 teaspoon baking powder
- 1 teaspoon baking soda
- 1 teaspoon cinnamon
- 1 1/2 cups granulated sugar
- 1/2 cup vegetable oil
- 1/2 cup unsalted butter melted
- 2 large eggs
- 1/2 cup buttermilk
- 1 teaspoon vanilla extract
- 2 cups shredded zucchini skin on, not drained
- 1 cup semi sweet chocolate chips
Instructions
- Pre-heat oven to 325
- Grease and flour 2 9×5 loaf pans and set aside.
- In a medium bowl add in the flour, cocoa, salt, baking powder, baking soda, and cinnamon. Whisk until well combined then set aside.
- In a separate bowl add in the sugar, oil and melted butter. Mix.
- Mix in the eggs, then the buttermilk and vanilla.
- Stir in the zucchini.
- Sift the dry ingredients over the wet ingredients and mix until just combined. Press any clumps of the cocoa powder through the sieve as well.
- Fold in the chocolate chips.
- Place in the loaf pans and top with additional chocolate chips if you’d like.
- Bake for 55 minutes to 1 hour or until a tooth pick comes out clean from the center.
- Cool in the pans for 10 minutes then remove them from the pans and place on a wire rack to cool before serving.
Notes
FAQ
No it adds extra moisture to the recipe.
Leave a comment below if you made this recipe, I’d love to hear feedback.
Related
Looking for other recipes like this? Try these:

Love this recipie!! Moist and delicious! I made it in a 9×13 pan and served it as cake!?
I am going to try that next time!! Thanks for the tip. I am also curious about making them into muffins!