Easy Yogurt in The Oven
Easy yogurt in the oven that’s creamy, tart and perfect for breakfast and snacking.
I love this yogurt recipe because no fancy equipment is required, just your oven with the light on. It’s great to whip up before bed and pop in the oven over night to do its magic. By morning, you’ve got creamy, homemade yogurt ready to go.

This is a very simple recipe that uses plain yogurt as a starter with live active cultures. Once you have your starter you can make your next batch of yogurt using the batch you just made.
Its so much cheaper to make, with yogurt prices being so high now that is even more motivation to make it yourself.
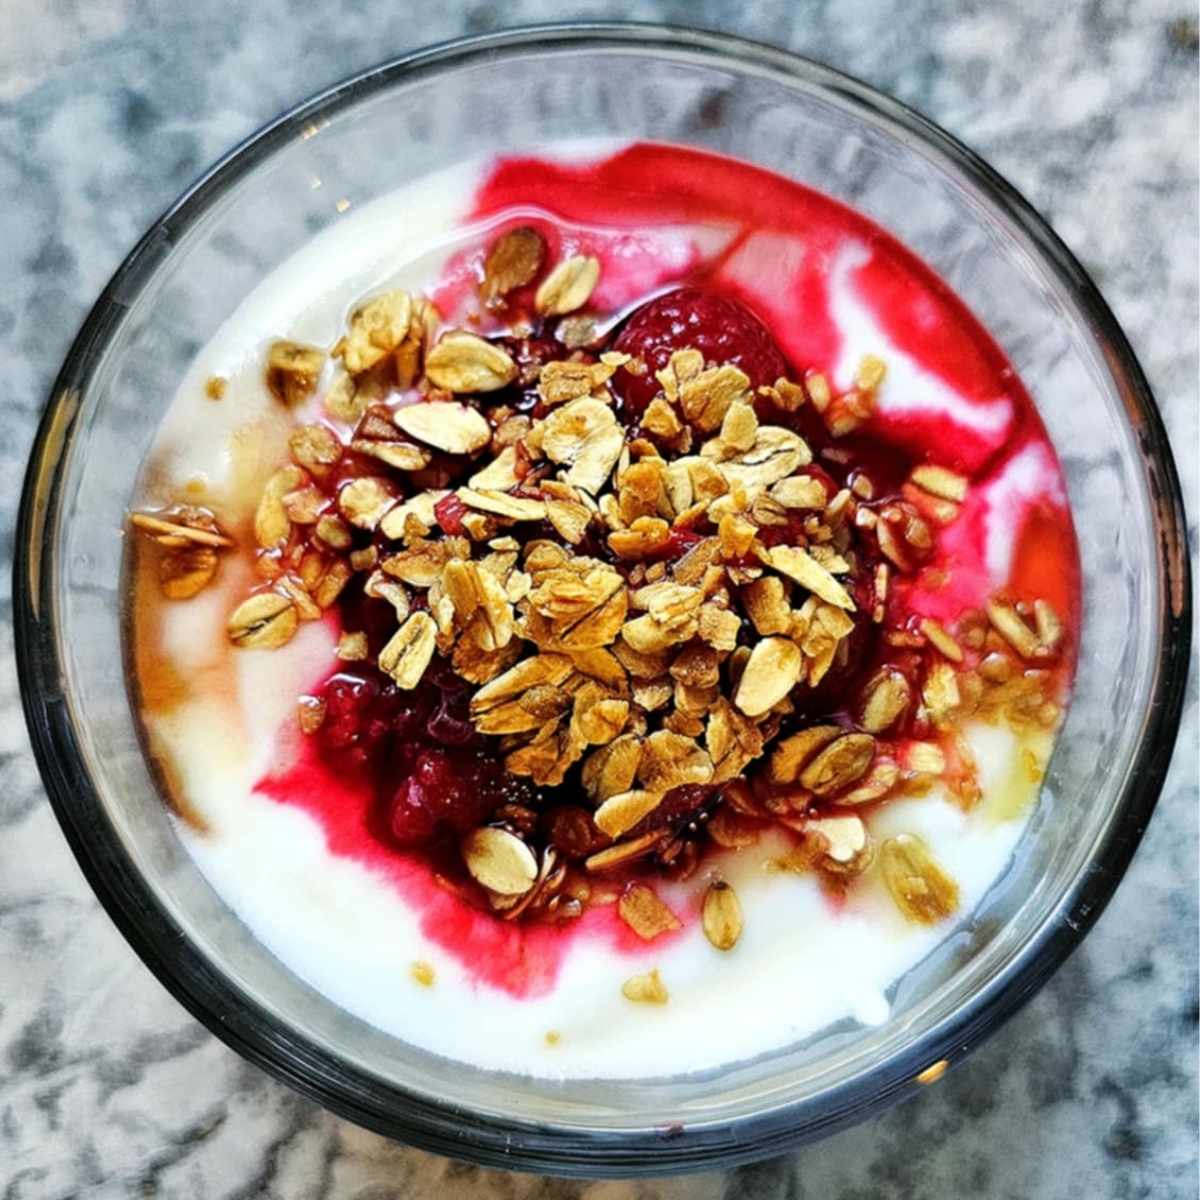
This yogurt tastes great with peanut butter granola, white chocolate cranberry granola, and basic homemade granola.
Ingredients for homemade yogurt
- Whole Milk- Allows for a creamier and richer texture
- Plain yogurt with live cultures- If its not plain the flavored yogurt will interfere with the fermenting process. I personally use Olympic Krema plain 10% yogurt. Its my favorite alternative to homemade yogurt as well.
- Make sure to read the ingredients label to make sure it is plain and has no additives, just live cultures.
See recipe card for quantities.
How do you make yogurt?
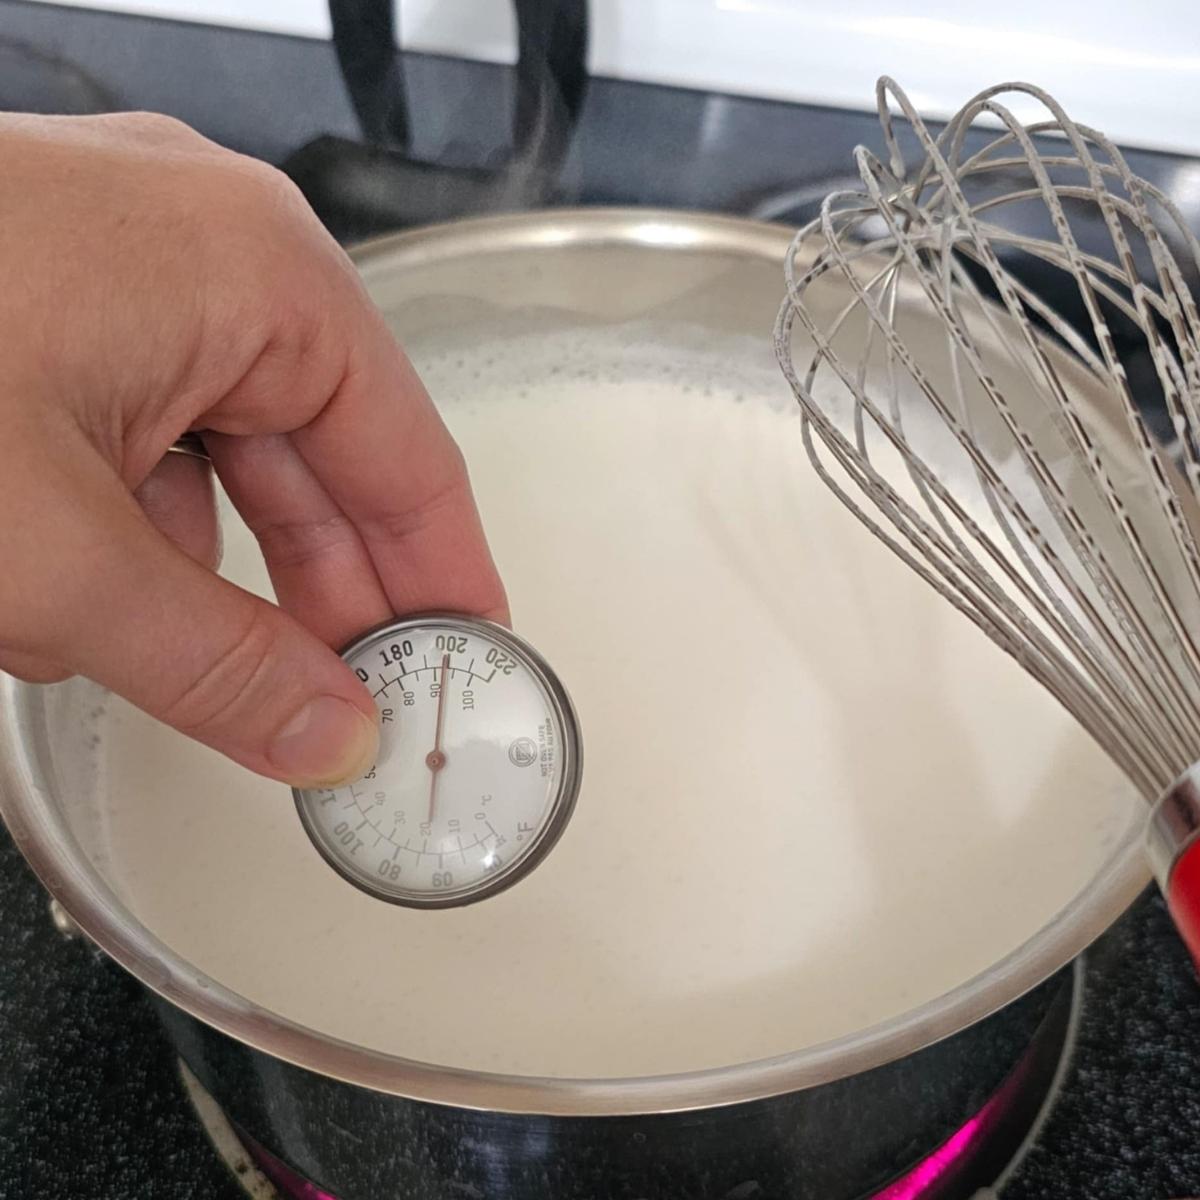
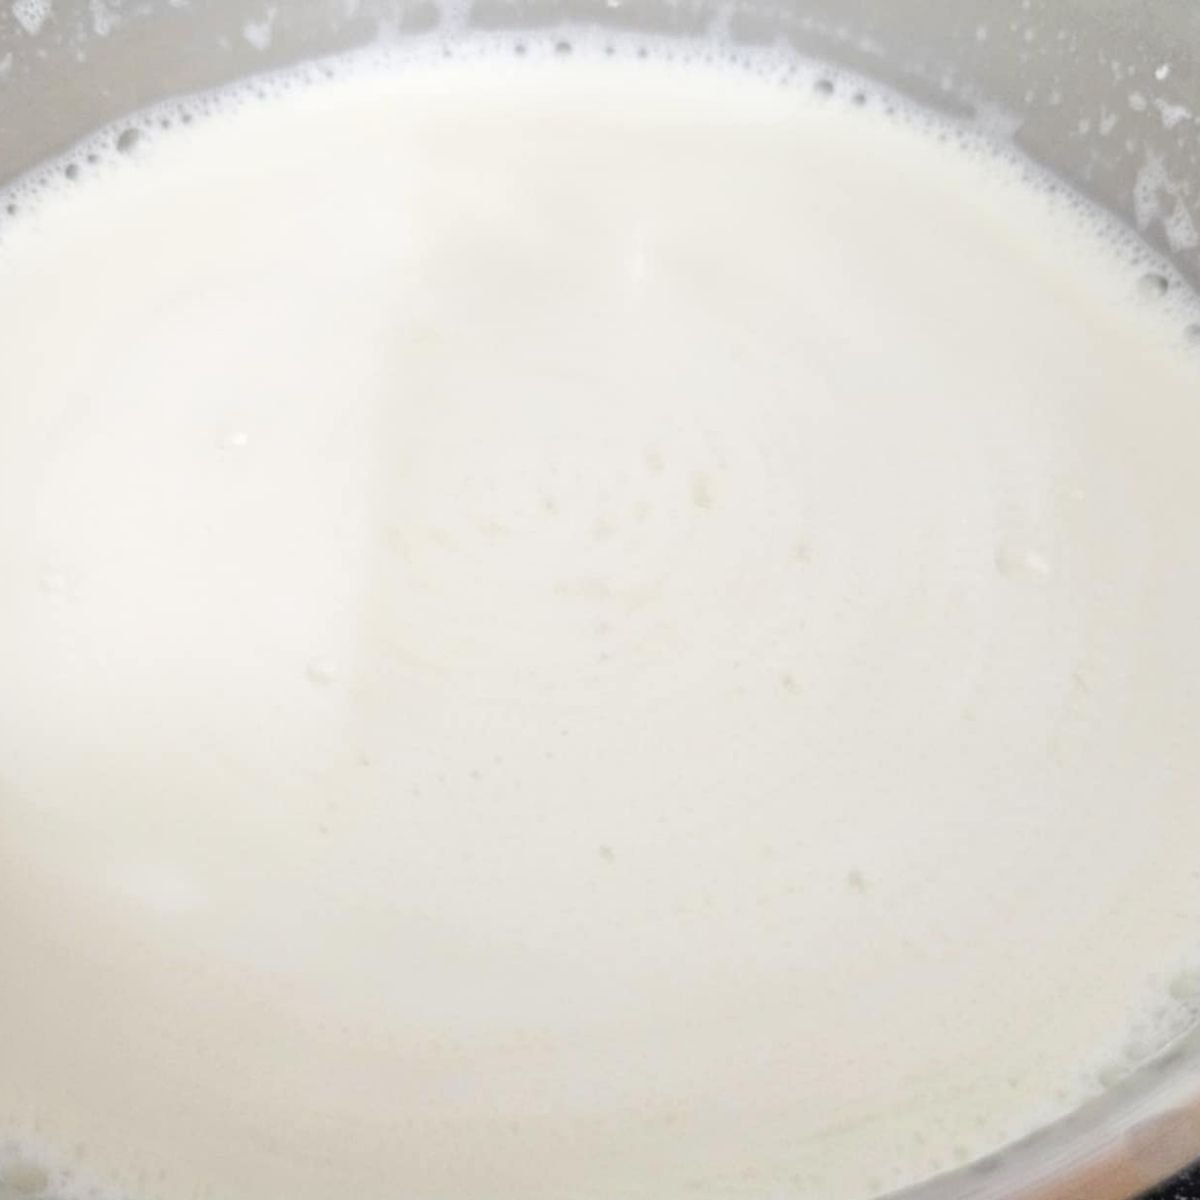
1: Turn on your oven light and place your yogurt in a bowl and set it aside. In a medium pot, on medium to medium high heat, add in the milk. Whisk until milk reaches 200 degrees f.
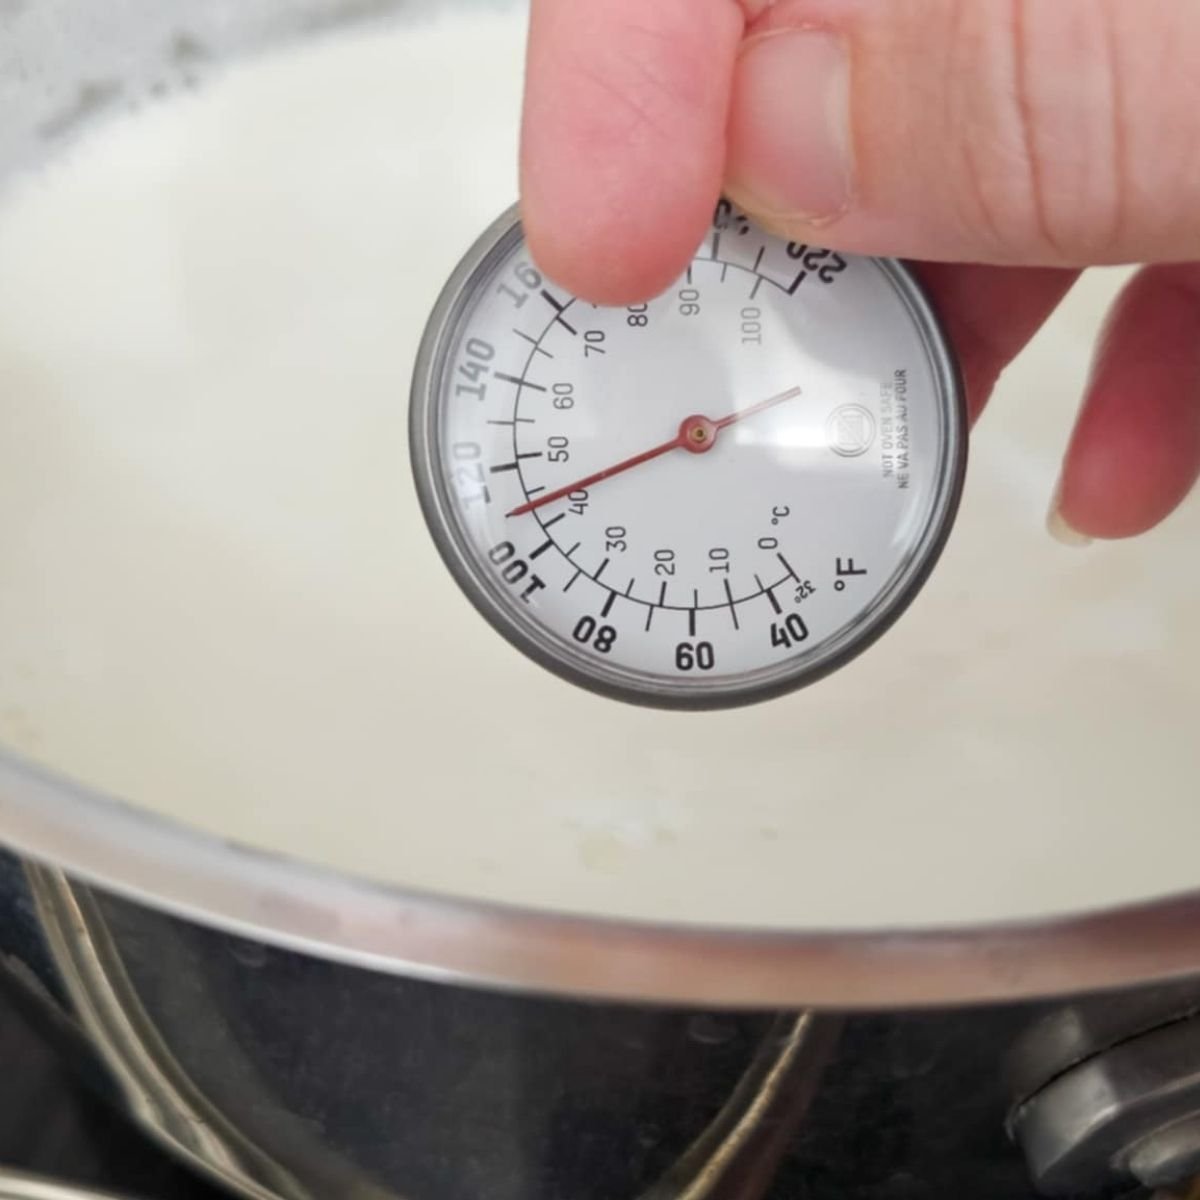
2: Remove the pot from the heat and leave it to cool until it reaches 115 degrees f.
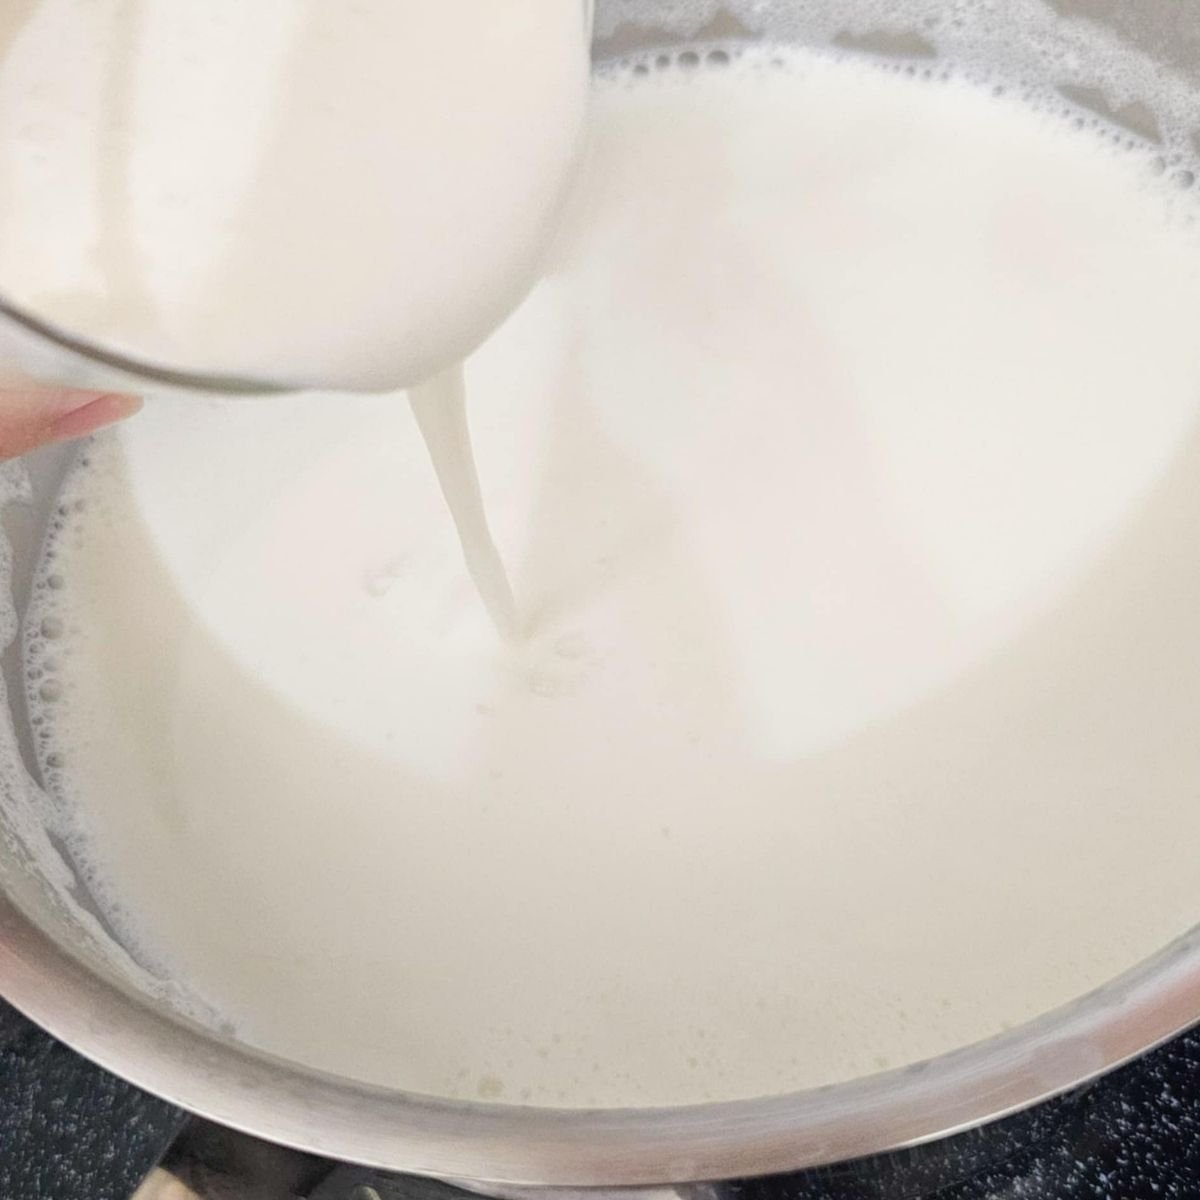
3: Once cooled, add 1/4 cup of the warm milk to the yogurt and whisk. Add another 1/4 cup of warm milk and whisk until smooth.
4: Whisk all the yogurt mixture into the milk and mix well.
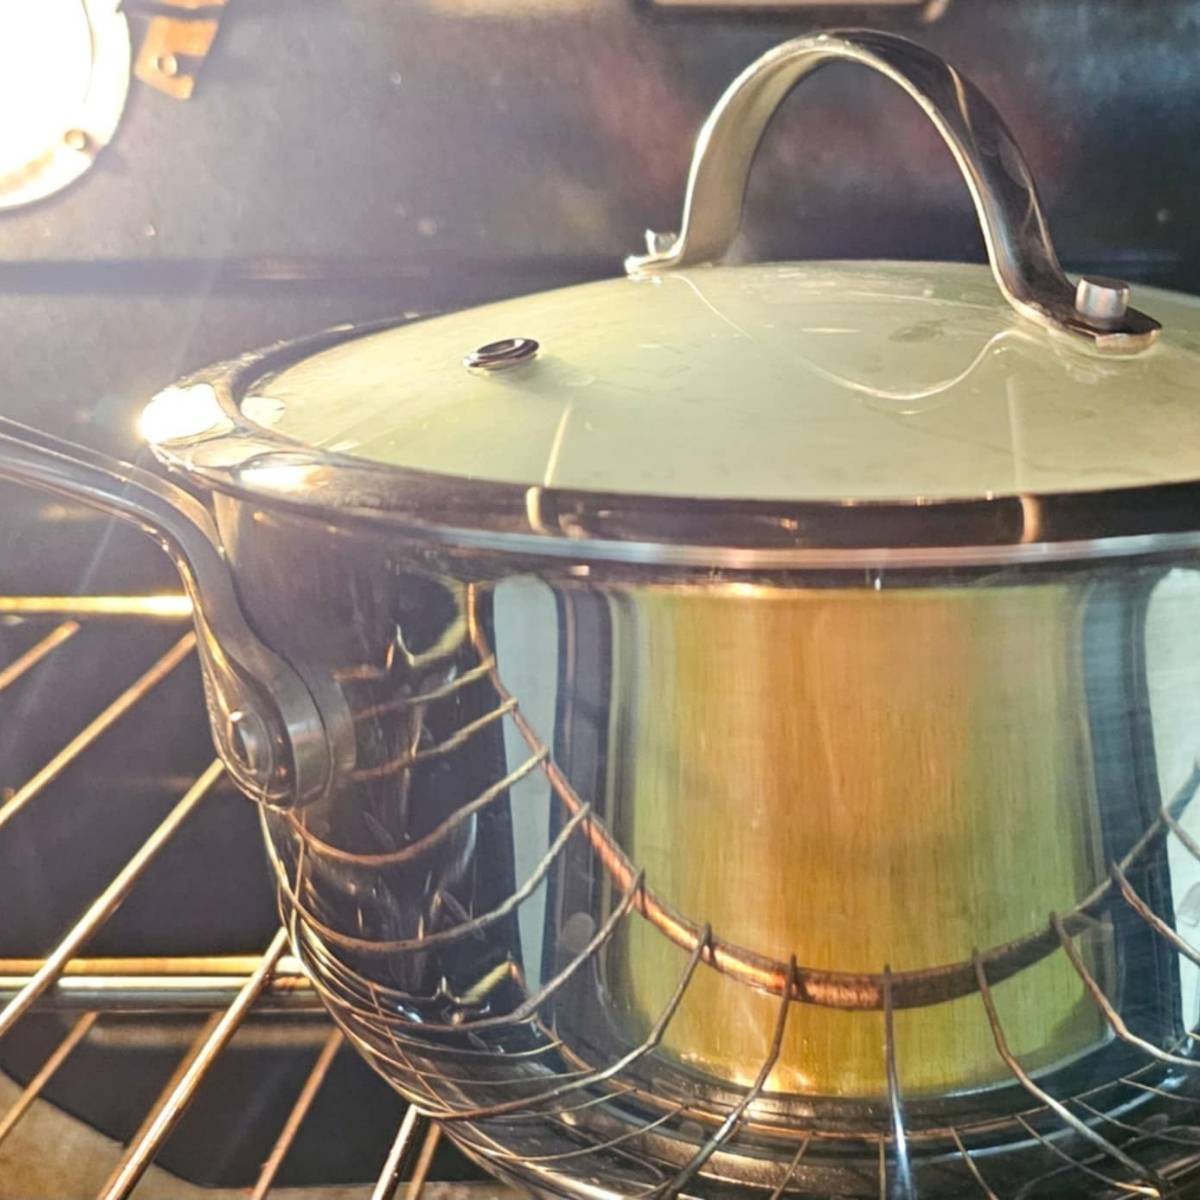
5: Place a lid on the pot and put it in the oven with the oven light on to keep it warm. Leave it in the oven for 6-12 hours. If you’re making it for the first time I would stick to 6 as it becomes more tart and thick the longer it ferments.
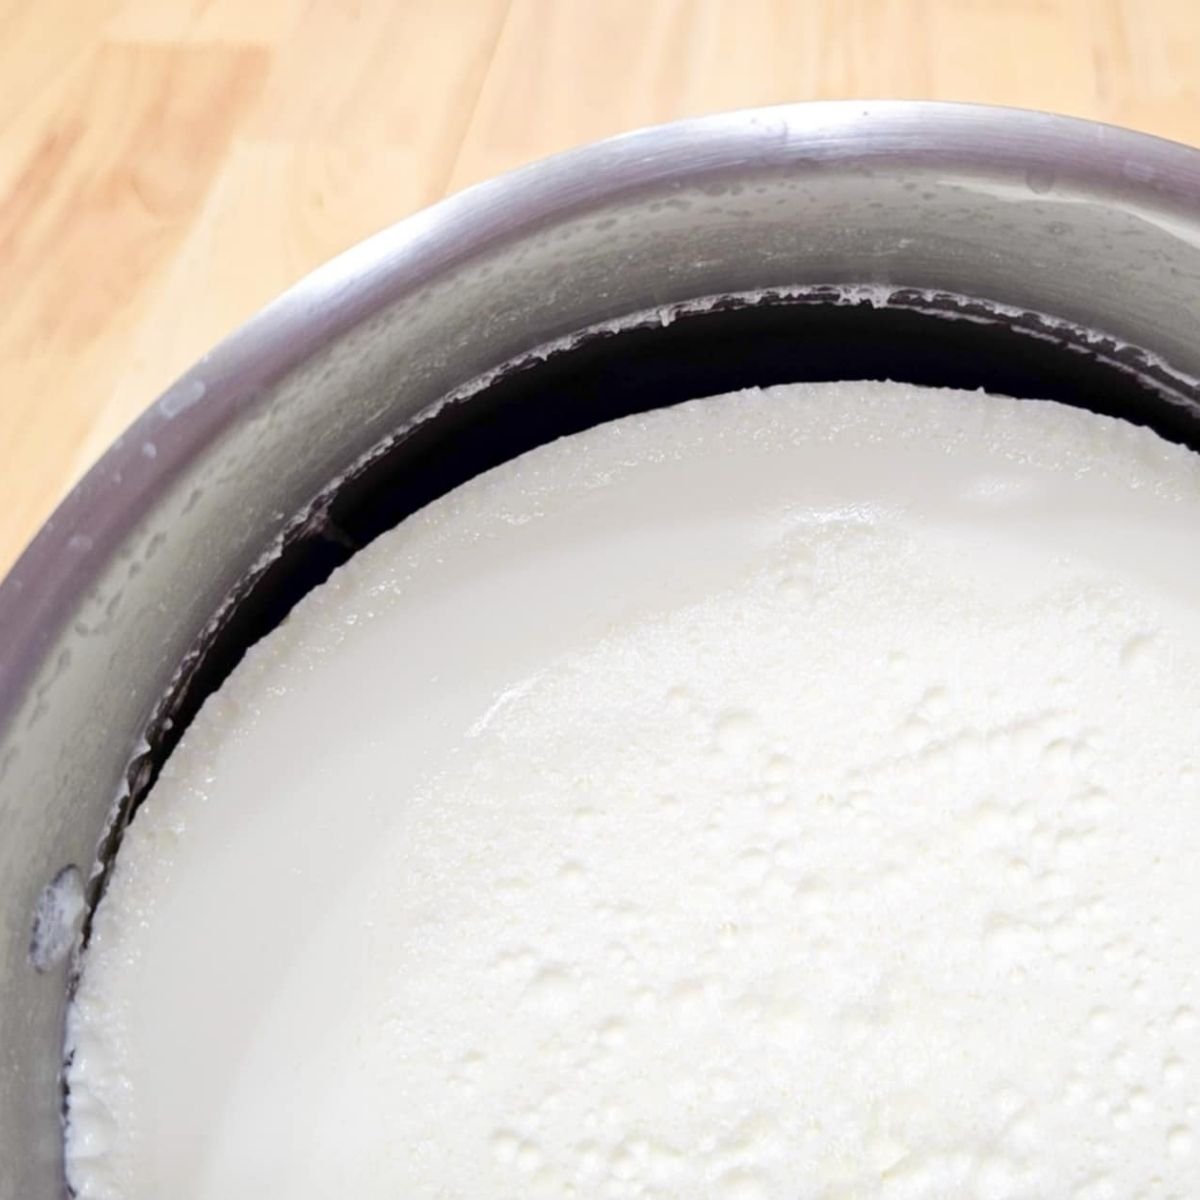
6: You can tell yogurt is done when you tilt the pot slightly and see the yogurt pull from the sides.
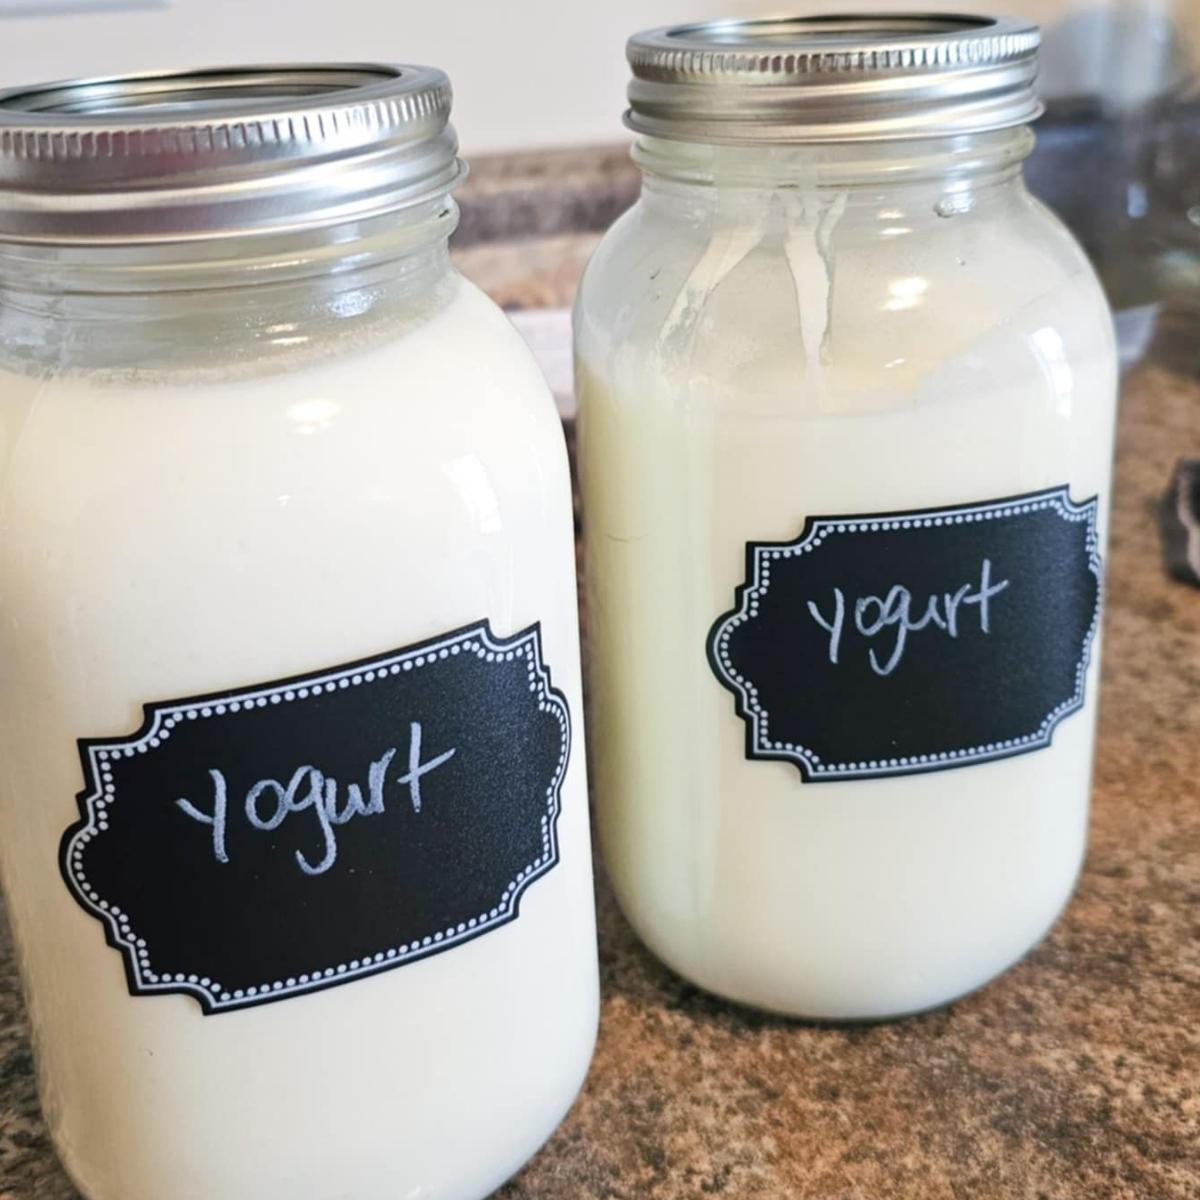
7: whisk until smooth and place in storage containers. Allow to thicken in the fridge for at least 4-6 hours before serving.
8: Once set, put 1/2 a cup of the yogurt away to make your next batch. If you notice flavor is off after a few batches and its not setting as quickly you will need to get another starter from the grocery store. Serve!
Sweetening homemade yogurt
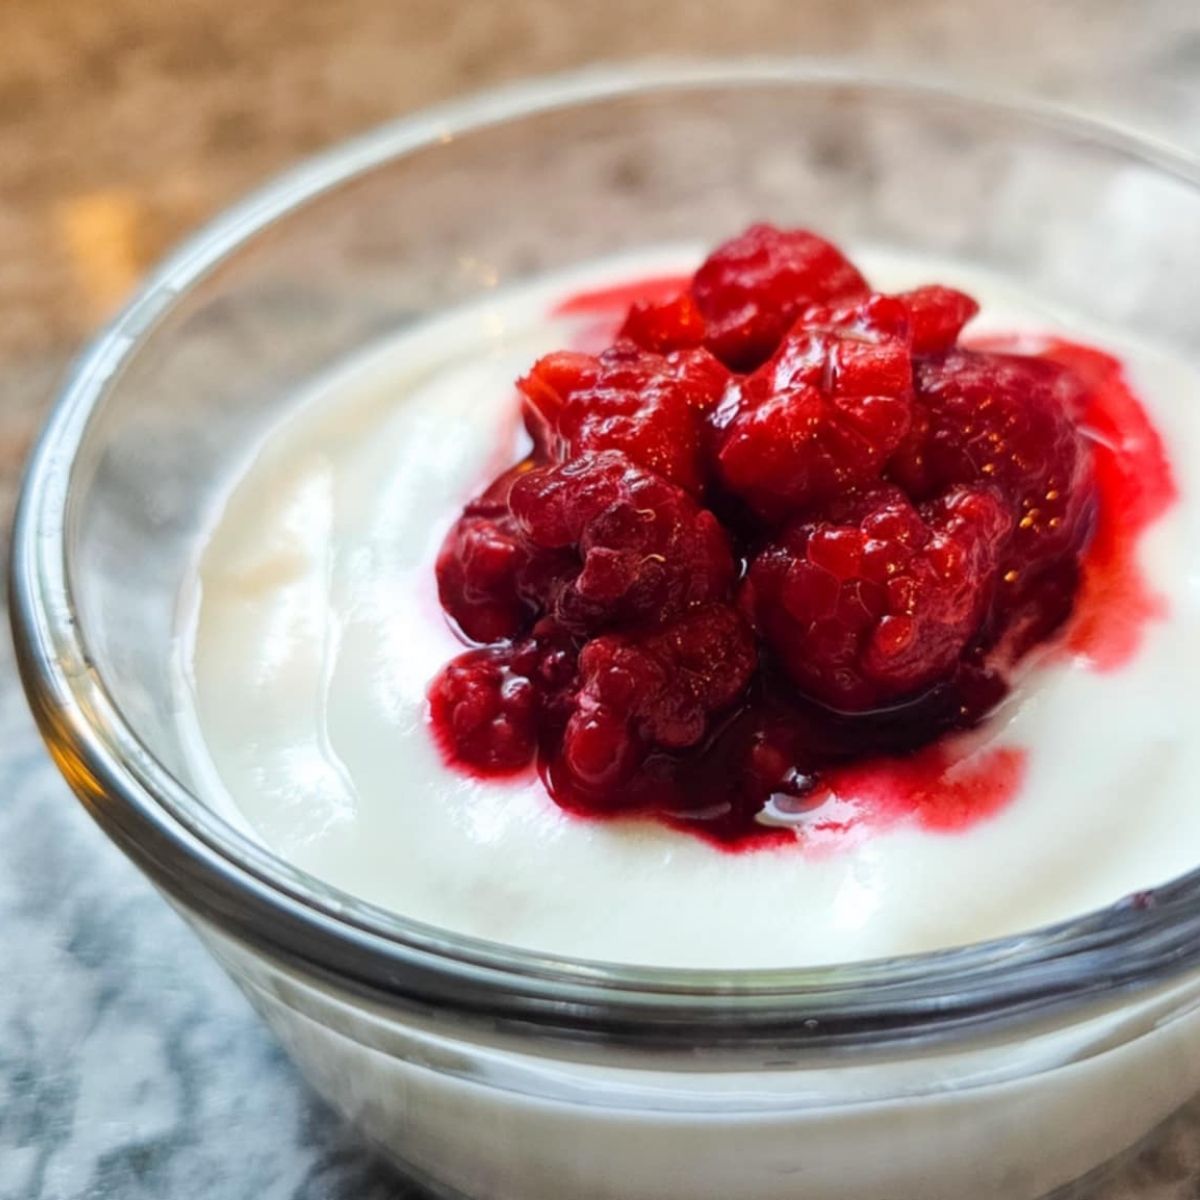
I add a sweetener (pure maple syrup) when serving the yogurt. My favorite way to enjoy it is by placing some yogurt in a small dish, putting frozen raspberries on top, placing it back in the fridge for them to melt into the yogurt and then serving it with pure maple syrup. You can also sweeten it with these options:
- Fresh fruit that is diced, mashed or pureed
- Jam, here is a homemade strawberry jam recipe using honey as a sweetener and no pectin
- Honey
Ways to enjoy your yogurt
- With granola on top
- In a parfait with granola and fresh berries
- Yogurt bark
- Baking recipes that call for yogurt like this blueberry breakfast cake or lemon blueberry bread
- A base for dips
- Homemade salad dressings
- Smoothies
- Homemade popsicles
- As a substitute for sour cream
- As a substitute for mayonnaise
Storage
Homemade yogurt will last up to 2 weeks in the fridge in an airtight storage container, though we don’t make it past 4 days before needing to make another batch.
How to use yogurt starter for the next batch
- As soon as yogurt is set, remove 1/2 a cup of the yogurt and place it in a separate container. If removed right away after setting the yogurt for 2 hours when initially made, each batch of yogurt should be consistent with the last batch.
- Use it within 7-10 days. If I am going to be honest here, I put all the dates my leftovers expire in my calendar so there’s no guessing. So either label it with the date it expires and needs to be used by or do what I do and mark it on the calendar.
- Use this starter for your next batch of yogurt, you should be able to keep using it unless bacteria gets in and if it gets a little funky and slimy then you will need a new starter again from the grocery store.

Easy Yogurt in The Oven
Ingredients
- 8 cups whole milk
- 1/2 cup plain yogurt with live cultures
Instructions
- Turn on your oven light only.
- In a bowl, add in your yogurt and set it aside.
- In a medium pot on medium high heat, add in the milk. Whisk occasionally while monitoring to make sure milk doesn't stick to the bottom. Whisk more frequently as it gets hotter. Bring milk to 200 degrees f.
- Remove pot from the heat and allow it to cool to 115 degrees f.
- Slowly add in 1/4 cup of the hot milk to the yogurt while whisking.
- Add another 1/4 cup of hot milk to the yogurt slowly while whisking.
- Whisk all the yogurt mixture into the rest of the hot milk in the pot. Mix well.
- Place a lid on the pot and put it in the oven with the oven light on to keep the yogurt warm.
- Leave in oven for 6-12 hours, pending on preference. The longer it stays the more tart and creamy it becomes. I personally like 7 hours.
- You will know its done when you tilt the pot slightly and see the yogurt pull from the sides.
- Whisk until smooth and add to storage container and set in the fridge for at least 4-6 hours before eating to thicken up and chill.
- Once set, remove 1/2 cup of the yogurt for the next batch and place it in a separate container and use within 7-10 days for the next batch of yogurt.
- Serve and enjoy!
Video

Notes
Pair This Yogurt With Granola:
Looking for granola recipes for the yogurt? Try these: